
C-POW-SAD, Part 2: Letter by Letter
Connected Is Not the Same as Working

Part two of two. Part one, “First 5 Minutes,” covers why the first five minutes back in the room are the most dangerous, and why a thing that’s connected isn’t necessarily working. This is the walkthrough.
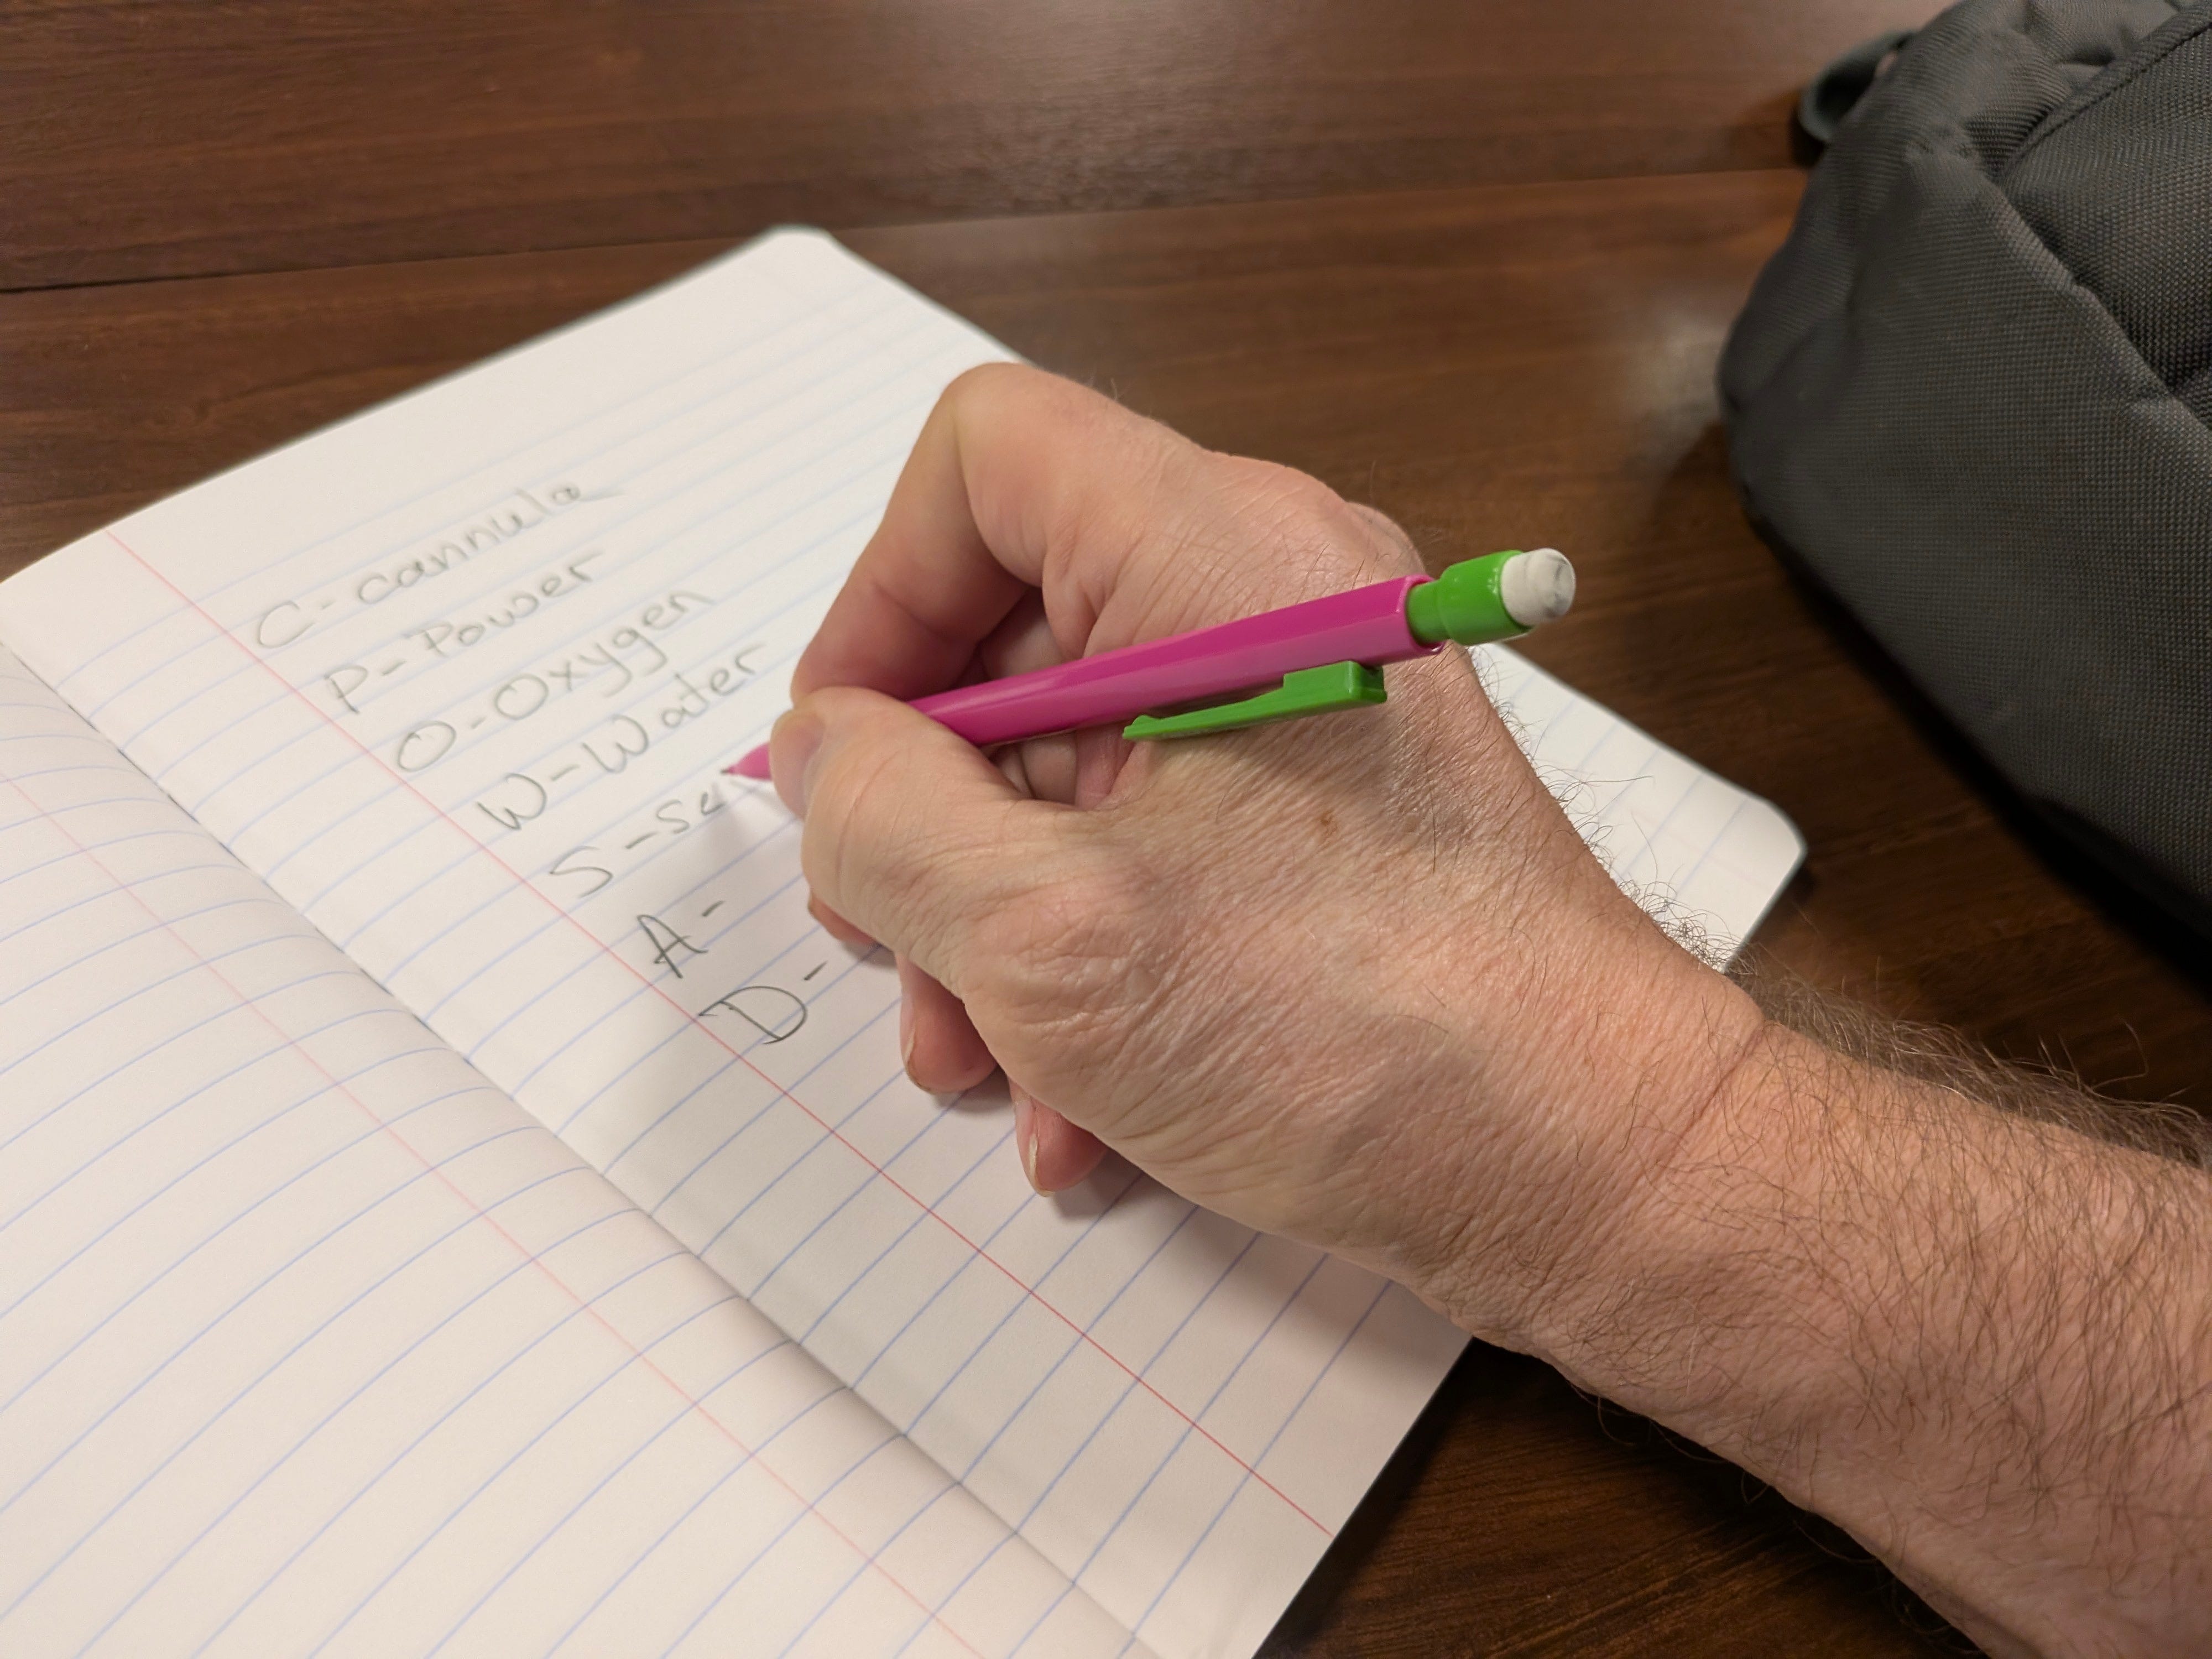
The reset, again, in order: Cannula, Power, Oxygen, Water, Sweep and settings, Alarms, Data. Here’s what each one actually catches.
C — Cannula
First, because it’s the only item that can kill in seconds.
Three checks: securement (sutures, clip, and dressing intact), external position (the depth marking at the skin matches your documented number — you should know that number cold), and the site itself (no kinks, no new bleeding).
The fear isn’t only frank decannulation, though that’s catastrophic. The subtler enemy is migration. A drainage or return cannula pulled back during a slide gives you suck-down, chatter, recirculation, or a number of other issues. The external mark can even look fine while the tip has moved. Don’t let a happy pump talk you out of looking. In peripheral VA, “C” is plural, don’t forget the distal perfusion cannula and the limb it’s keeping alive.
P — Power
Both ends. The AC cable into the wall and the cable seated in the machine. Then confirm the indicator that says it’s actually on mains and charging — not just that a plug is in a hole.
Two traps. First, the wrong outlet: use the emergency/backup-power outlets, not a regular one. Second, trusting the battery. The battery is your transport bridge, not your home base. If you don’t restore mains power, the machine runs the battery down silently. It will usually start alarming with plenty of reserve, but you will loose a vote of confidence from the relatives that are sitting in their loved ones room. “Plugged in” with no charging indicator is the false reassurance in its purest form.
O — Oxygen
Two reconnections, not one, and both have to happen. First, the blender on the ECMO cart gets plugged into the wall — wall oxygen and wall air. Then the oxygenator’s gas tubing comes off the transport tank and connects to the sweep flowmeter on the cart, which is fed by that blender, which is now fed by the wall. The whole supply path is wall → blender → flowmeter → oxygenator.
The trap is doing half of it. Plug the blender into the wall but leave the tubing on the tank, and the blender’s live while the patient’s gas is still coming from a cylinder you’ve been draining all trip. As long as the tubing’s on the tank, you’re living on what’s left — and it’s less than you think. A lot of tanks have an alarm that goes off at 500 psi, but you will loose another vote of confidence with the loved ones that are sitting in the patient’s room. Move the tubing onto the wall-fed flowmeter and you’re finally off the countdown.
W — Water (the heater-cooler)
The order matters here, and it’s the one people get backwards. Warm the heater first, then connect it. Power the unit and let it circulate in its own loop until it reaches target temperature, and only then connect the water lines to the oxygenator. Warm to warm.
You have to understand the starting state to see why. We generally don’t warm the patient during transport — they run passive by design, and the heater goes on once we’re back in the room, or in the OR for an extended case. So on arrival the unit has been off the whole time and it’s cold. That’s the expected state, not an exception. And the instinct, when you want warming started fast, is to plug it straight into the oxygenator. That instinct is the trap.
If you connect a cold heater to the oxygenator and then let it warm up, and you’ve plumbed a room-temperature exchanger into the circuit, actively pulling heat out of the patient for as long as the catch-up takes. They were holding steady on passive transport; now you’re cooling them.
This is where pediatrics is unforgiving. A small child has little thermal reserve and a circuit blood volume that’s large relative to their own, so a cold exchanger doesn’t nudge their temperature, it drags it down fast and deep. The consequences stack: coagulopathy in an already anticoagulated patient, arrhythmia, rising oxygen demand, and real distress for a child who can feel every bit of it. It can genuinely shock them. Adults have more buffer, but the principle holds. Get it to temperature, then bring it to the blood.
S — Sweep and Settings
This letter does double duty, and both halves are easy to skip in the rush.
Sweep first, because it’s the killer, and because the letter “O” only got the tubing onto the flowmeter. It did not confirm gas is moving. The flowmeter can sit at zero, or at the wrong number, with the tubing perfectly connected. So come back to it on its own and confirm the sweep is on and set to the right level. You probably eyeballed it during the tubing move; check it again anyway, separately, on purpose. Sweep-off is an emergency that doesn’t announce itself on the console.
Then the rest of the settings, because transport settings persist. You may have run a higher flow during the move or set FdO2 to 100% for the trip. Now the machine is quietly delivering the wrong therapy behind a normal-looking display. Walk the numbers against the order: pump RPM and target flow, sweep rate, blender FiO₂, and heater target.
Settings is the capstone of the “Connected Is Not the Same as Working” idea. It doesn’t ask if it’s plugged in. It asks if it is set to the right number.
A — Alarms
Restore the limits, high and low flow, circuit pressures, and delta-P if you trend it. Un-silence anything you muted for transport. Confirm the air/bubble detector and intervention is turned on.
Alarms come near the end on purpose: they’re the safety net for everything above. If the cannula migrates an hour from now, if the flow drops, pressures change, if power quietly drops to the battery, alarms are what tell you. A silenced or widened alarm means everything you just confirmed has no backstop. You set alarms after you’ve set the values it’s watching, which is why “A” follows “S.”
D — Data
Reconnect the data cable so the console transmits to the chart and to central monitoring.
It’s last for an honest reason: it’s the only item that won’t hurt the patient in the next five minutes. But it isn’t optional. Lose it, and you lose trending, the documentation trail, remote visibility, and alarm routing to the station. Last in priority. Not skippable.
The bottom line
C-POW-SAD is a connection-and-configuration check for the highest-risk five minutes in an ECMO patient’s day. Its job is to defeat the false reassurance of something that’s present but not working. Treat this as a non-negotiable task. Don’t trust the calm console: after a move, the machine looking normal is the beginning of the check, not the end of it.
Learn more
For more practical ECMO articles and study tools, look around on this website LifeSupport.Training and subscribe to this newsletter ECMO 143: AI-Assisted Journey.
I also built AI ECMO Educator, a free-to-use tool that provides evidence-based ECMO and ECPR guidance for ICU clinicians and trainees, covering physiology, cannulation, anticoagulation, circuit management, and troubleshooting. It draws from sources such as ELSO, PubMed, AmSECT, and leading centers.
Disclaimer
This content is for educational purposes only and does not replace clinical judgment, institutional protocols, or consultation with your ECMO team.